


Notion can be hard to use and overwhelming when you don’t know the basics. As a beginner, you can easily overcome the learning curve when you practice creating your systems. I’ve created this guide to bridge the gap between you and maximizing the amazing features Notion offers.
Creating a to-do planner is the perfect project to understand Notion’s features. In this guide, using databases, pages, and more, you’ll learn to create an effective to-do planner in Notion.
What is Notion?
In a nutshell, Notion is an all-in-one productivity tool. It’s designed to help you turn your ideas into action, reducing the time you spend thinking about getting things done. This is possible through its array of features including:
Project management and tracking
Task management and tracking
Notion Calendar
Pages and databases
Workflow management
You can create an account to explore more of its features. It is a game changer if you're looking to organize different areas of your life.
Although it has a steep learning curve, it is worth it. Following the steps in this guide, you’ll have your first Notion page set up in no time.
Elements of an Effective To-Do Planner
To create your ideal to-do planner, you need to understand the basic blocks necessary to build one. Here are some elements to include in your effective to-do planner:
Prioritization: It involves organizing tasks based on their importance. You can use labels for this. For example, tasks can be labeled as "high priority," "medium priority," or "low priority”.
Categorization: It involves grouping similar tasks under specific categories or projects. You can achieve this using labels/tags. It comes in handy when you use filters to identify and focus on related tasks at a time.
Deadline or Due dates: Adding a deadline or due date section helps ensure tasks are completed on time and reduces procrastination.
Inbox: Also known as a master to-do list or endless list. It is an idea dump section where you write ideas as soon as they come to mind. It serves as a temporary holding space before you sort your tasks.
It might seem like a lot but when you start building it'll all make sense as to why these elements are essential. Notion is perfect for building as all the elements listed are part of its core features. Let's get started.
Step-by-Step Process for Creating an Effective To-Do Planner With Notion
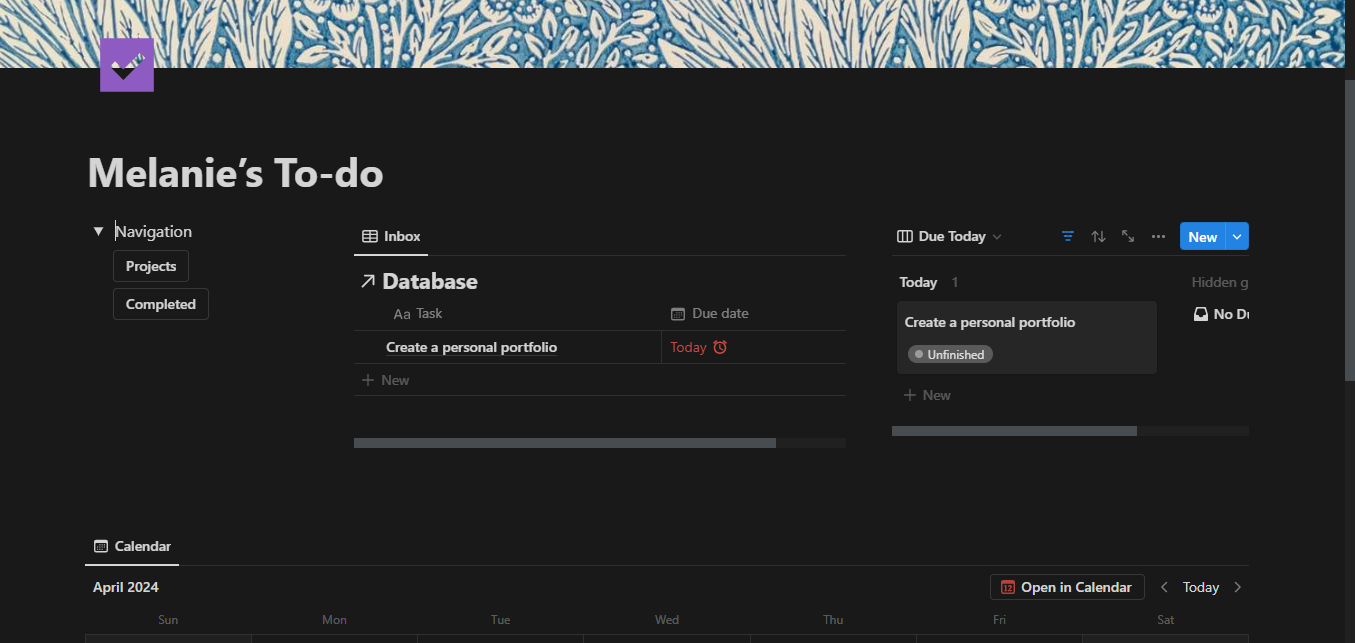
If you've chosen the elements you'd like to include and created your free Notion account, you can start creating your to-do planner by following the steps below. At the end of this guide, you will have a comprehensive and effective to-do planner that looks like the image below.

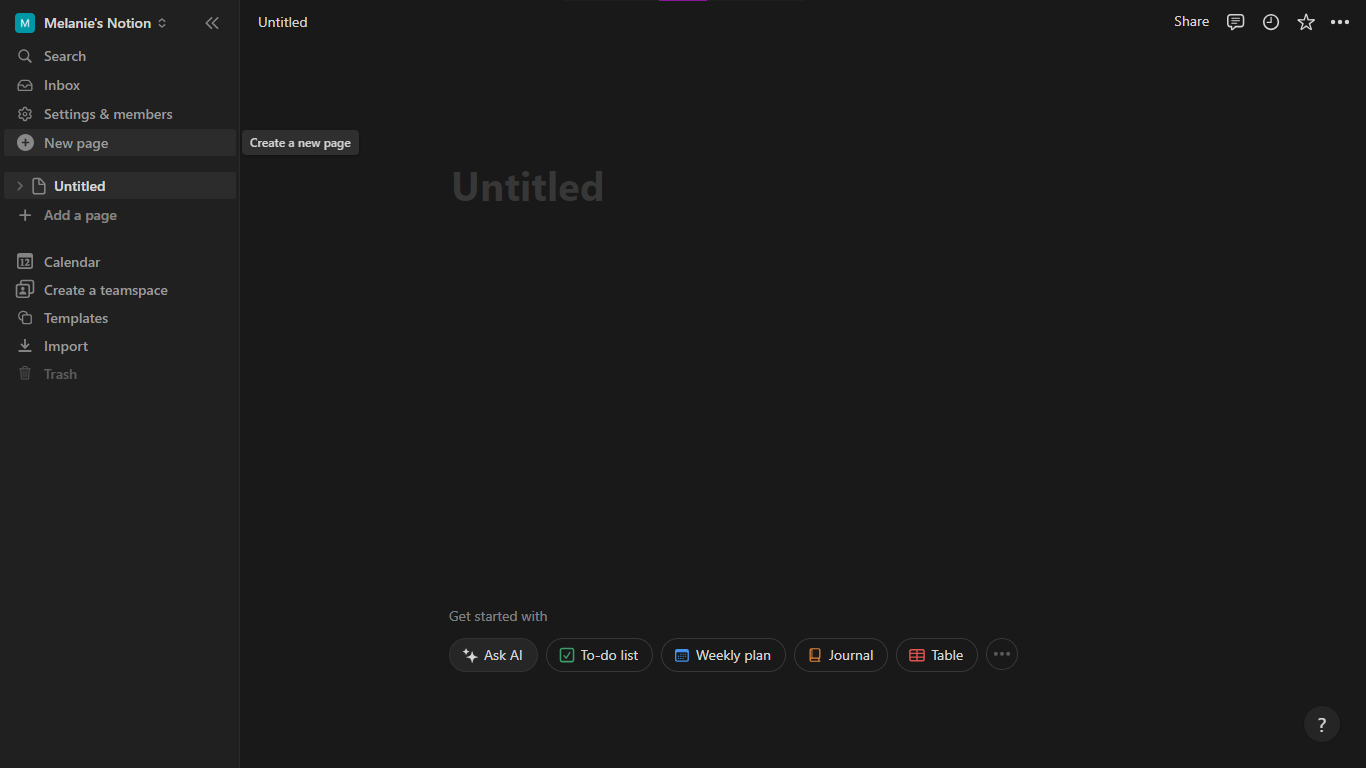
Create a New Page
On the sidebar menu, click on the New page option to create a new page. Alternatively, you can click on the Add a page option.
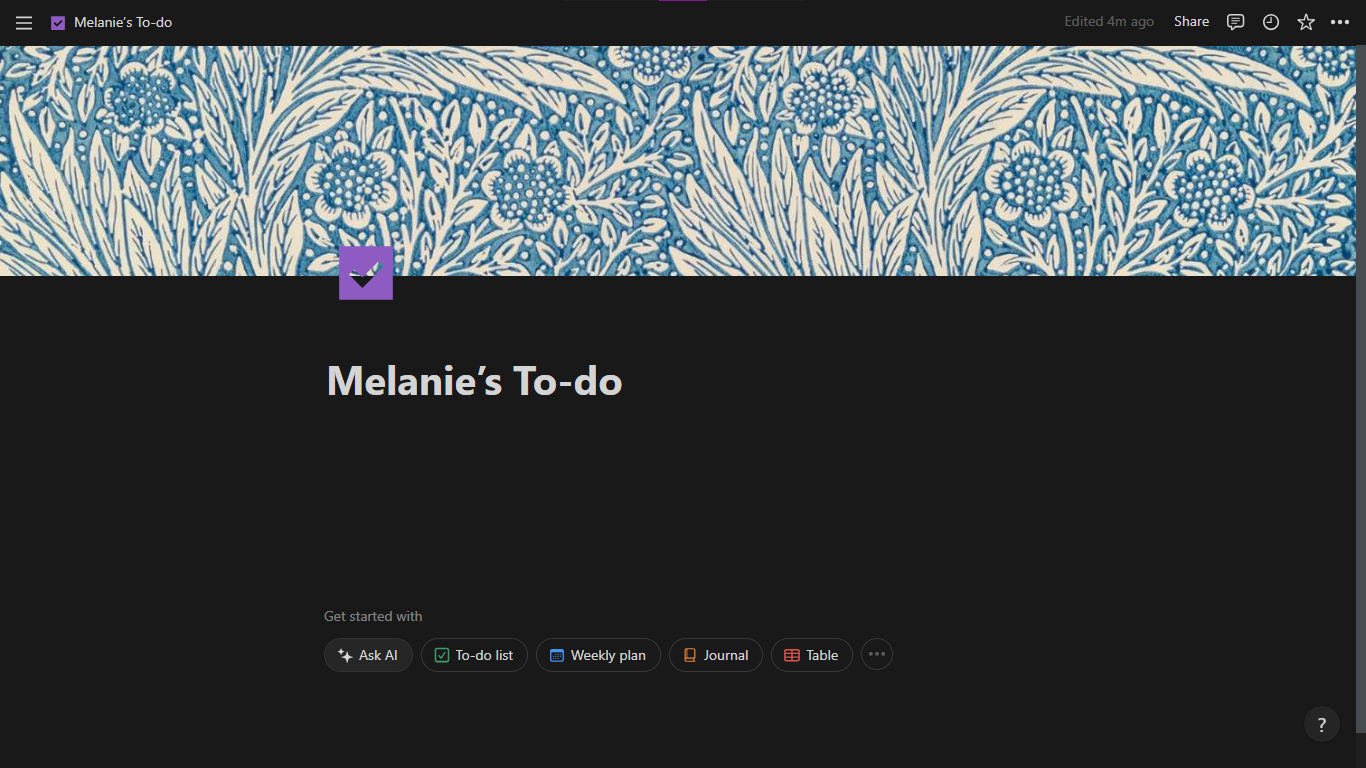
Setup Your Main Page
Hover above the title field to add an icon and a cover. Next, add a title for your page and hit enter.
Create a Database
In Notion, you can use a database to store all types of data using different layout formats. When you create a database, you can use the information within it to set up other pages.
Hit the forward slash button for commands and select the Database - Inline option to create a table layout database.
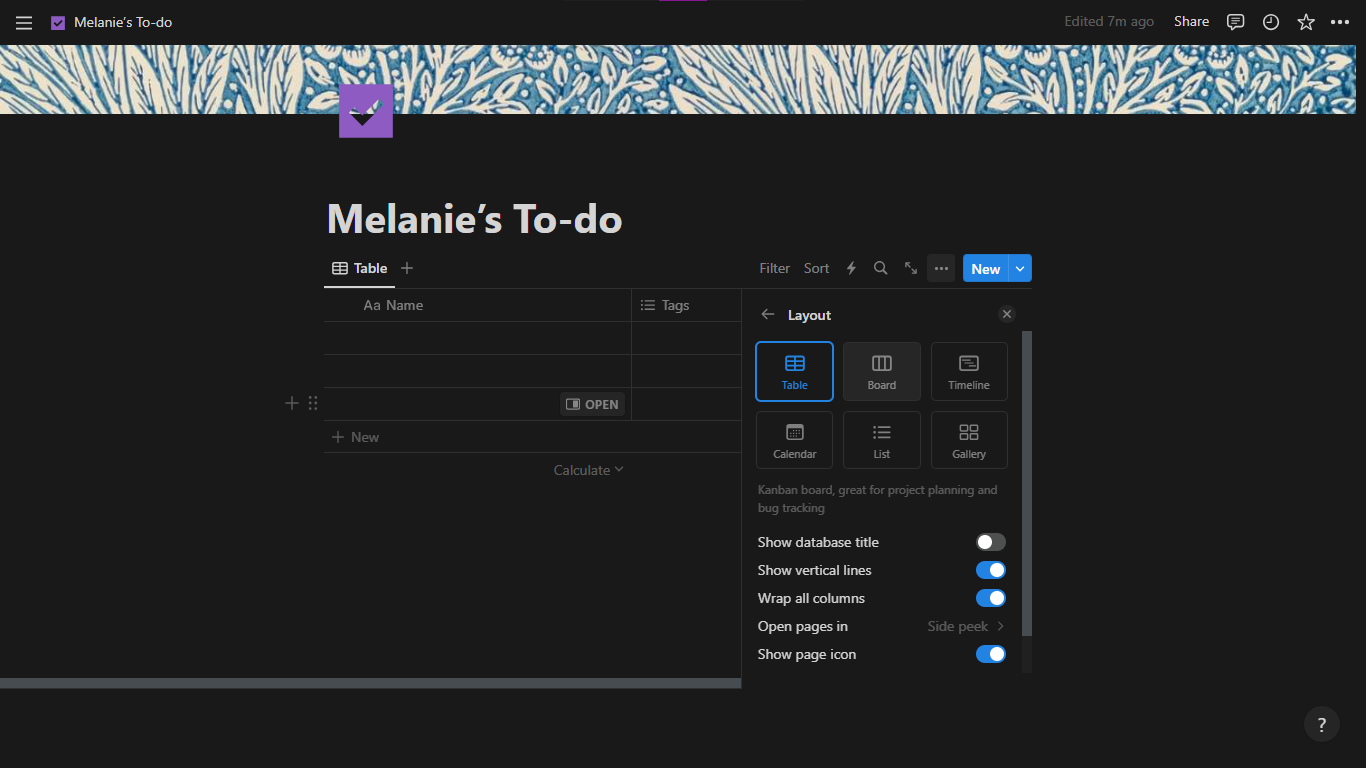
You can change the layout by clicking on the … icon beside the New button. In this case, you’ll continue with the table layout.
At this point, you can also toggle off the Show database title option.
Setup your Database
This is the most important step in the process. You will create all the elements from earlier.
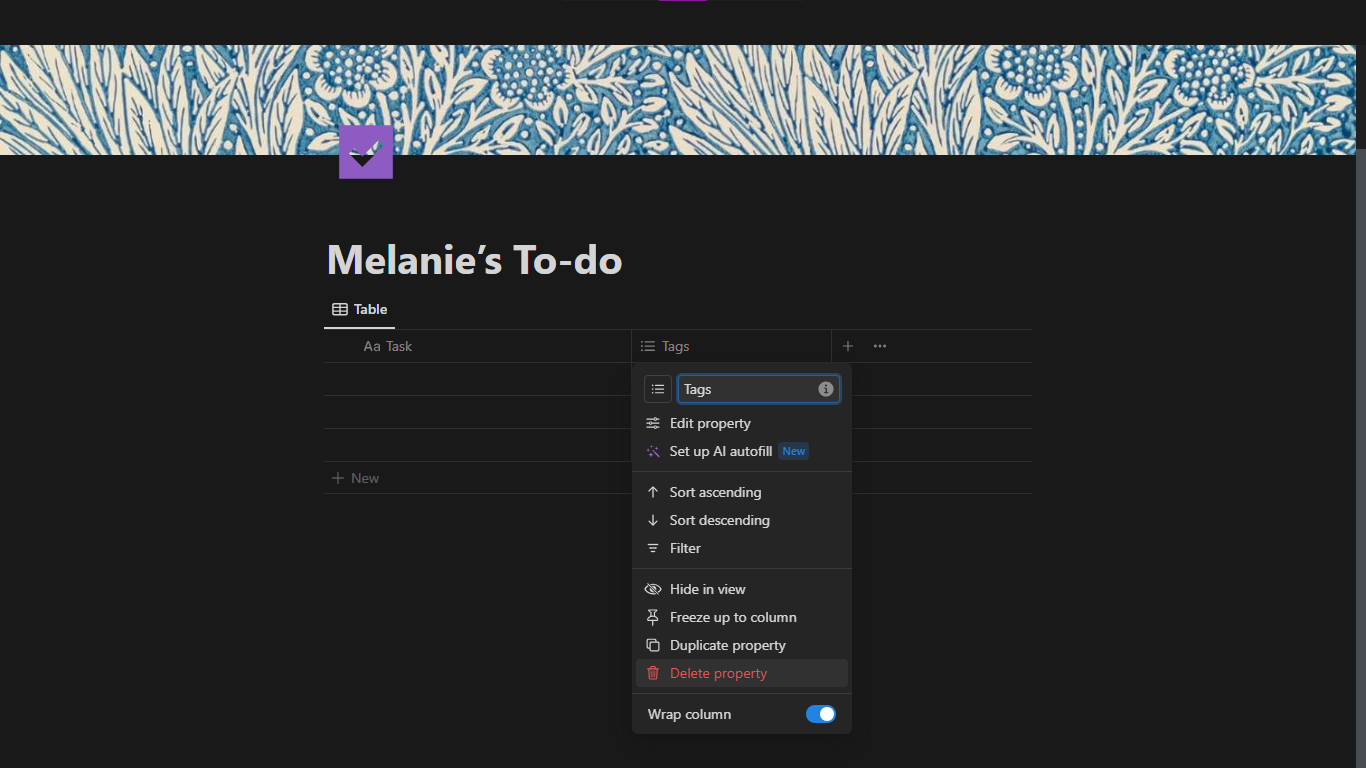
On the table database, you’ll see properties including, Name and Tags. Since you’re creating a database from scratch, you can delete all the placeholder property you don’t need.
To delete a property, click on the property, select Delete property, and confirm your selection.
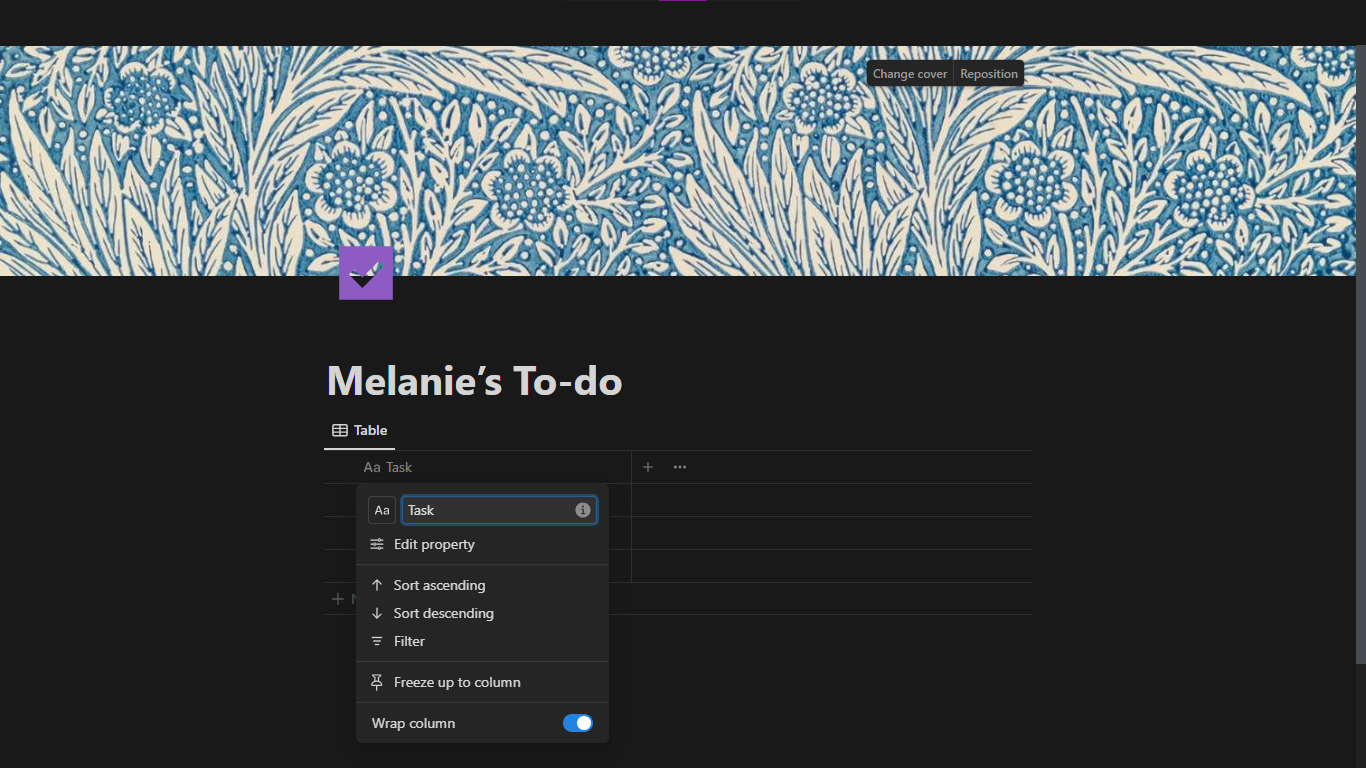
Start by changing the name property to your desired title. Click on the Name column header, edit it and hit enter to save.
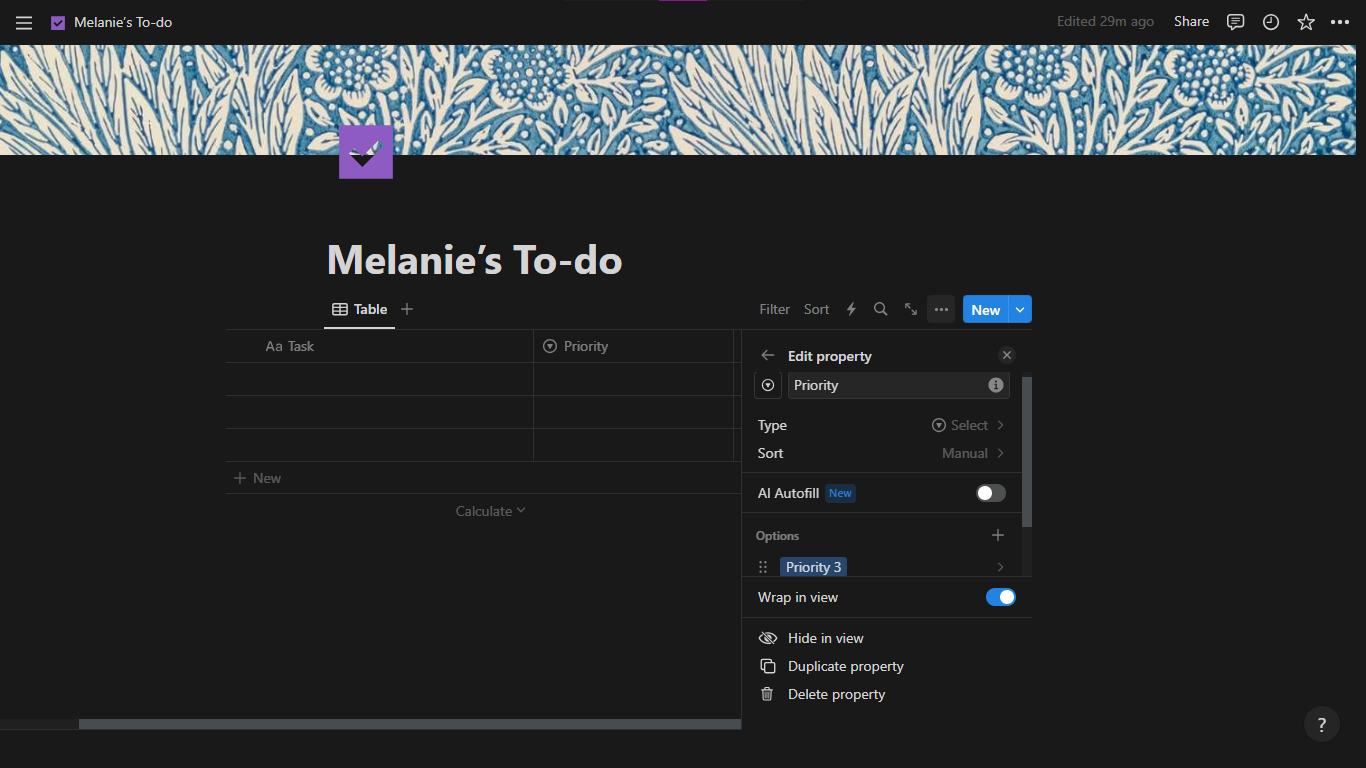
Now, let’s create a property for the priority tags. You’ll be using the select property.
Click the + icon on the table header and pick the Select option. Name the property.
Next, select the Add options option to create the tag names. Create as many as you want.
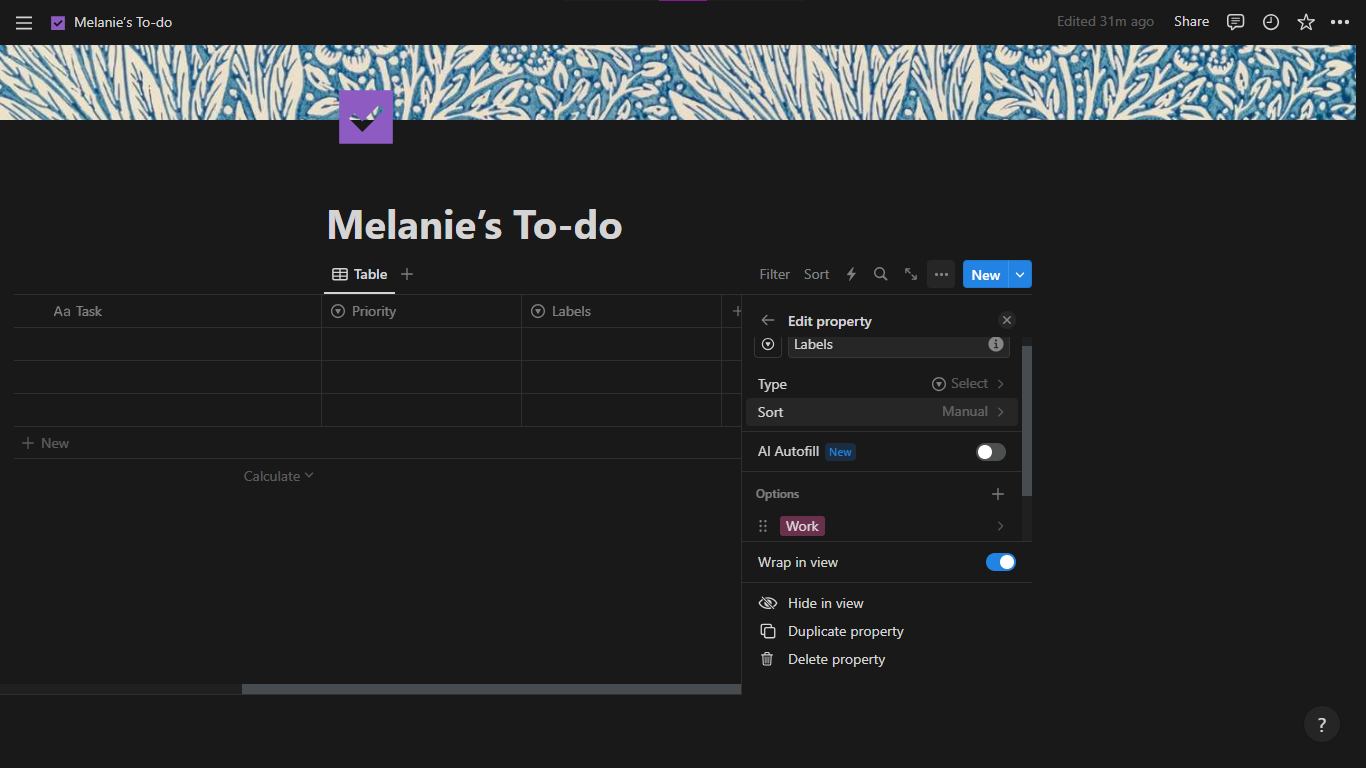
You’ll create another property for the category labels. Like the previous step, create a select property and name it.
Next, create your labels.
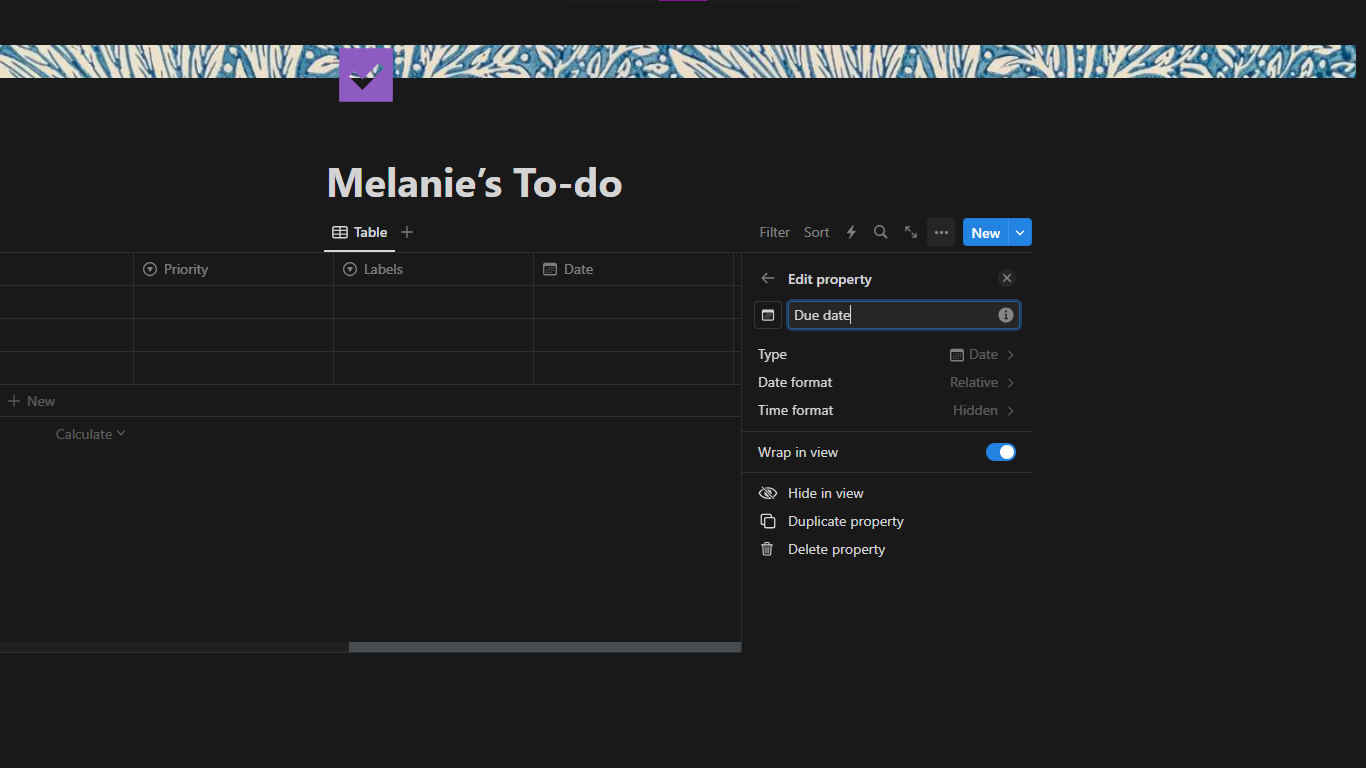
You’ll create a date property for the due dates/deadlines.
Click the + icon from the previous steps, select the Date option and rename the property.
Then, you can change the Date format to Relative and the Time format to Hidden for a better experience.
Lastly, you’ll create a status property to categorise completed tasks.
Clicking the + icon from the previous steps, select the Status option and rename the property.
Edit the status labels by deleting the In-progress status and changing the To-do status to your preferred label.
Next, you can drag and drop the Status property to the beginning of the table. Also, you can adjust the column width.
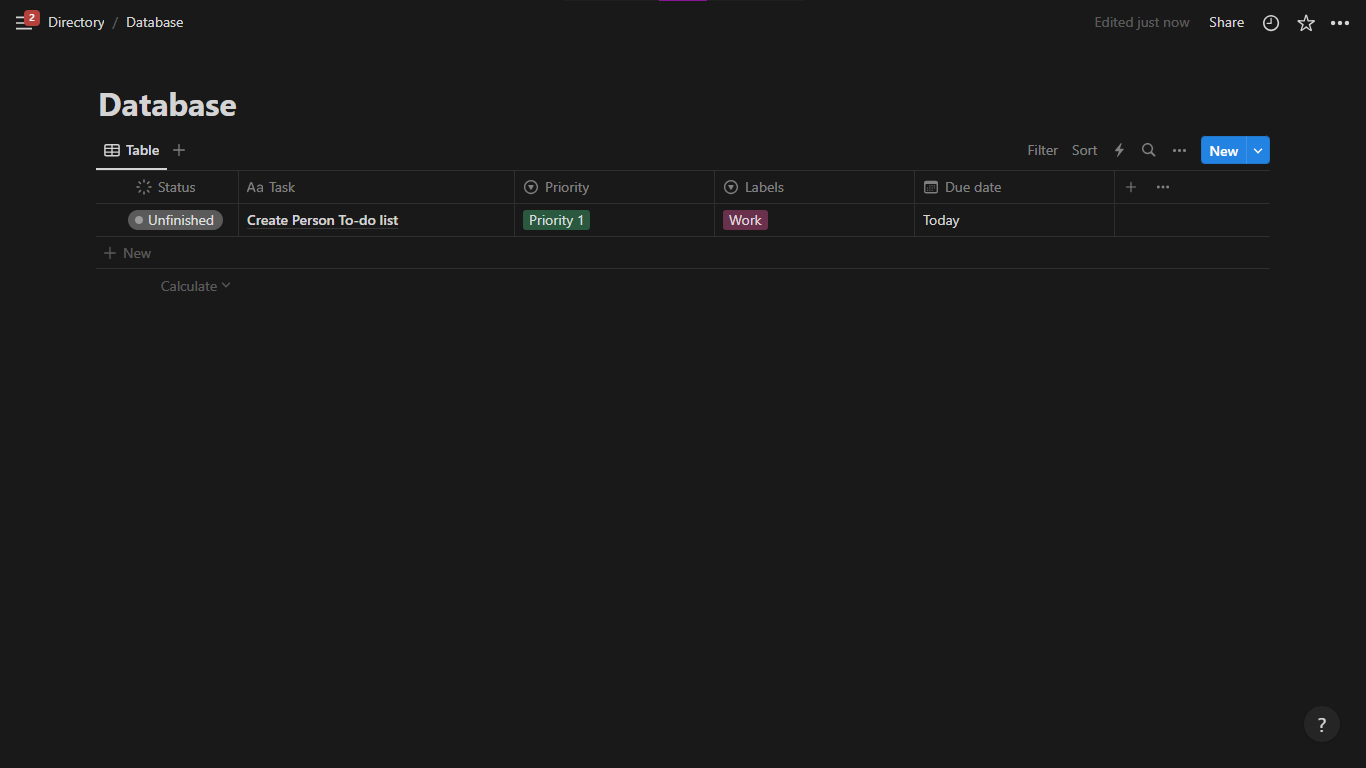
To test out your database and see how it looks, create a task.
Create Different Layout Views From the Table View
The hard part is over. You’ll now create variations of the table layout using different layout views and isolating different properties. We will be making 4 different layout views that will be useful in the coming steps.
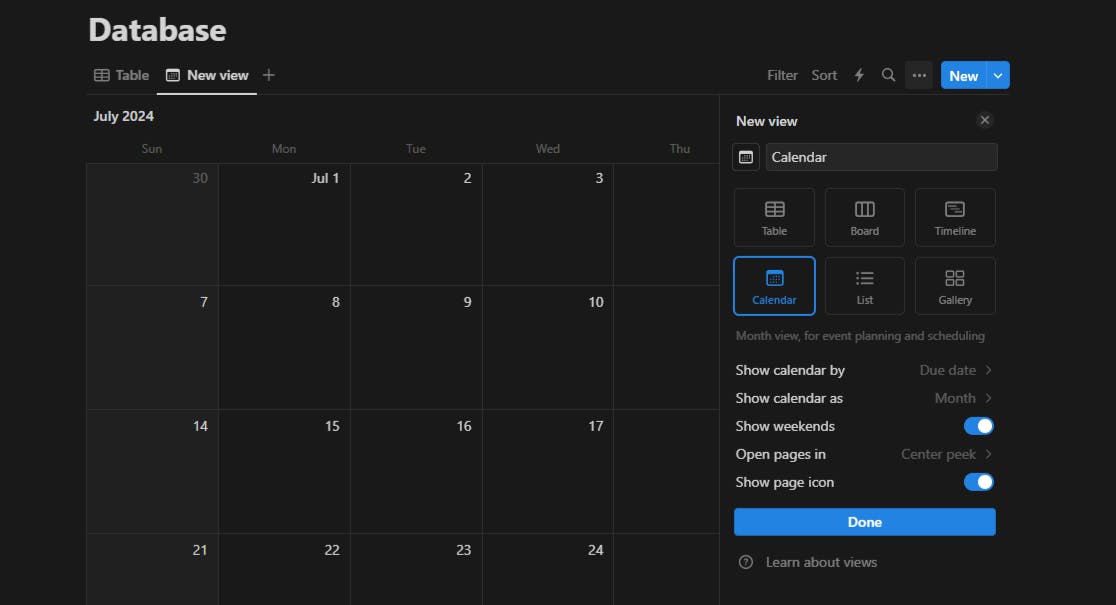
Calendar View for Calendar Overview
In this view, tasks are arranged on a calendar by due dates. This will make it easier to see all of your tasks at a glance. Follow the steps below to create this view.
Click on the + icon next to the Table title.
Name the view and select the Calendar option.
Select the Due date option for the Show calendar by menu.
Select the Month option for the Show calendar as menu.
Click on the Done button to save.
Board View for Projects
Using the board view, you’ll filter tasks by project label. This will be useful when you want to see tasks by project category. The following steps will help you create a board view.
Click on the + icon next to the Calendar title.
Name the view and select the Board option.
Select Group by > Group by > Label.
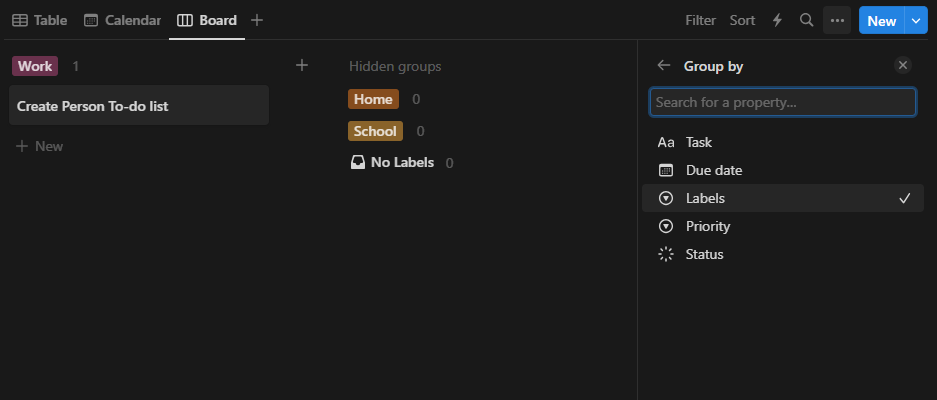
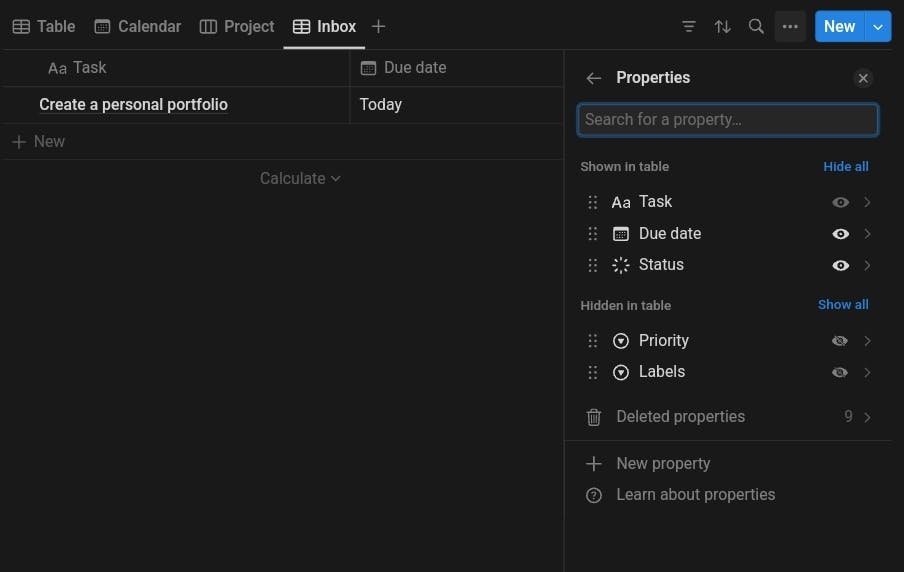
Table View for Inbox
You’ll create a table view to hold the inbox tray or master to-do list. It’s similar to the previous views with a few tweaks.
Click on the + icon next to the Project title.
Name the view, select the Table option and hit enter.
Click on Properties and click on the eye icon for all properties excluding Task, Status, and Due date.
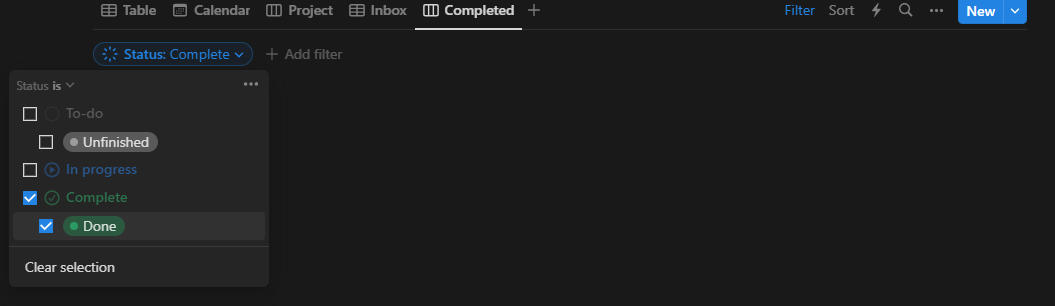
Board View for Completed Tasks
This is similar to the board view for projects, the difference is the filter for the done status alone only.
Click on the + icon next to the Inbox title.
Name the view, select the Table option and hit enter.
Navigate to the top right corner of the table header.
Select filter > Status.
Mark the Done checkbox.
Now that you’ve created all 5 views, you can make use of any data from the database on any page. You can finally start working on your main planner page.
Setup Your Planner Page
This is the final setup you’ll do. Use the forward slash command and create a new page on your main page.
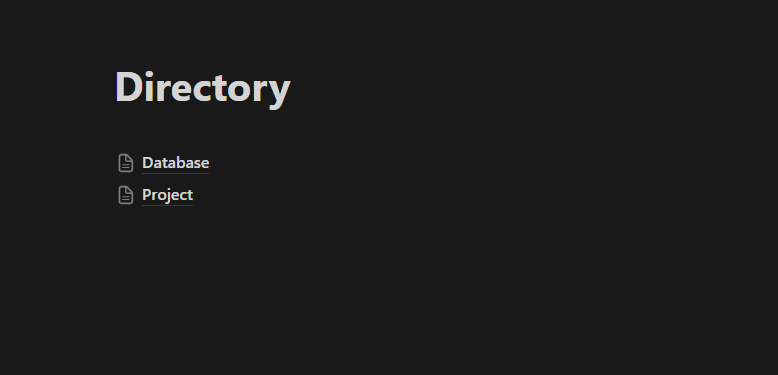
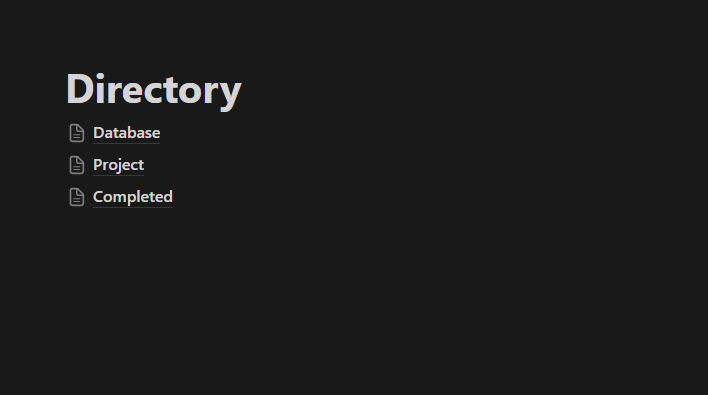
Name the new page Directory, this is where you'll store all your pages, then hit enter.
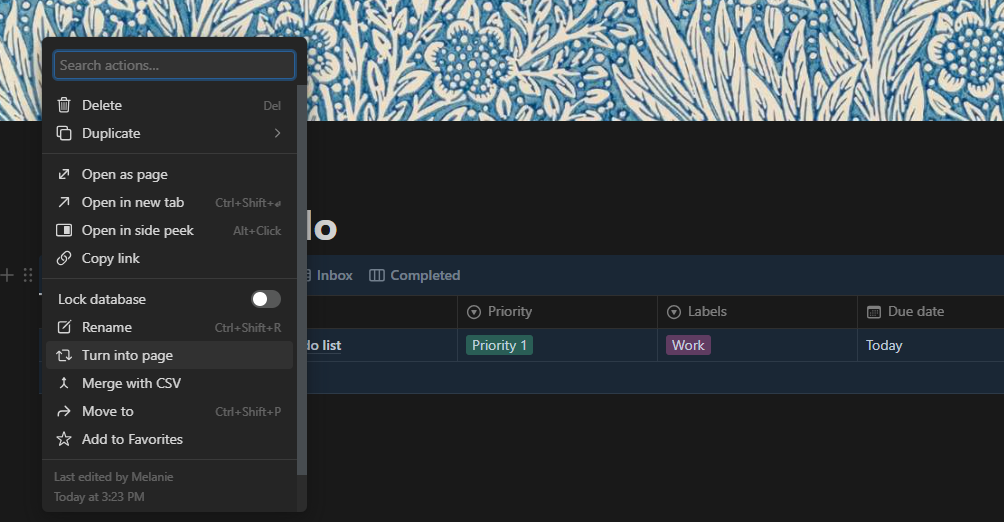
Return to the main page and hover beside the Table header to see the drag-and-drop icon.
Click on the icon and select the Turn into page option.
Drag and drop the Database page into the Directory page.
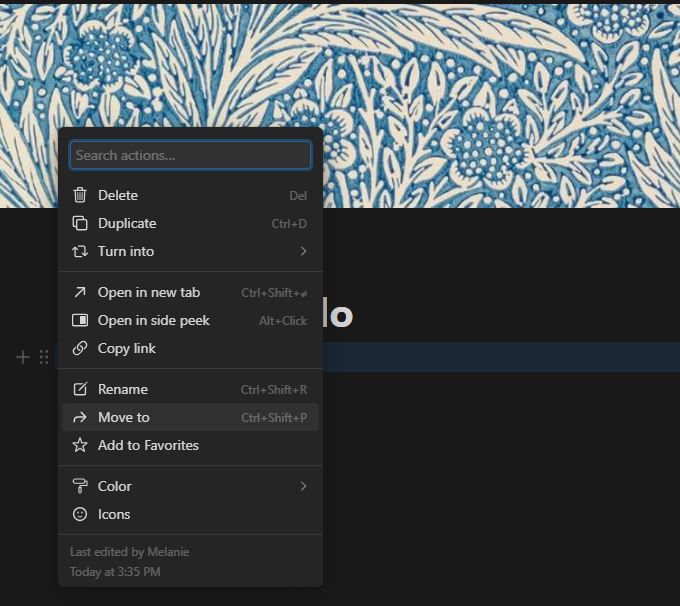
Next, click on the drag-and-drop icon next to the Directory.
Select Move to > Private pages.
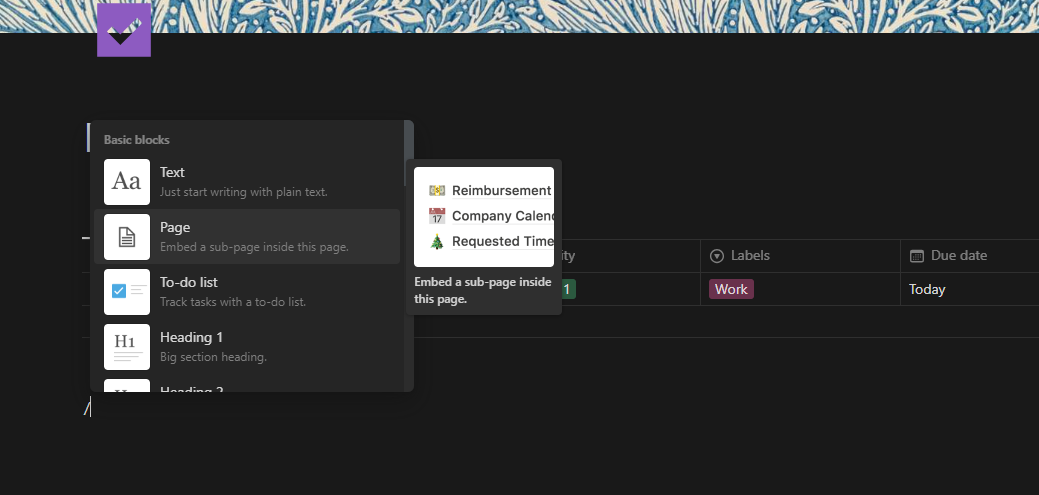
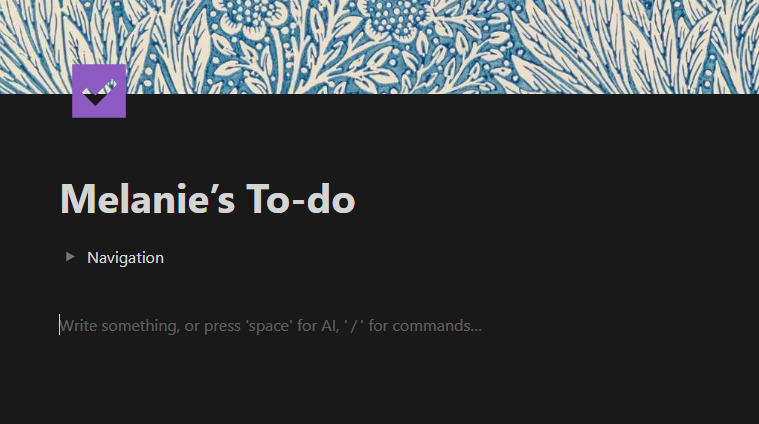
On the now empty main page, use the /3c + enter command to create three columns.
On the first column use the /toggle command and select the Toggle list option.
Label this toggle list as Navigation and hit Shift + Enter keys to move to the next line.
Navigate to the Directory page using the Notion sidebar.
Use the /Linked command and select Linked view of database.
Select Database > Project.
Like the database page, turn the Project view into a page.
Be sure to rename the page.
Follow the same process to create a page for the Completed view.
You should have 3 pages in your directory.
Using 2 of those pages, you’ll create buttons for navigating your planner.
On the main page, under the Navigation toggle list,
Use the /button command and click on Button.
Name the button Projects.
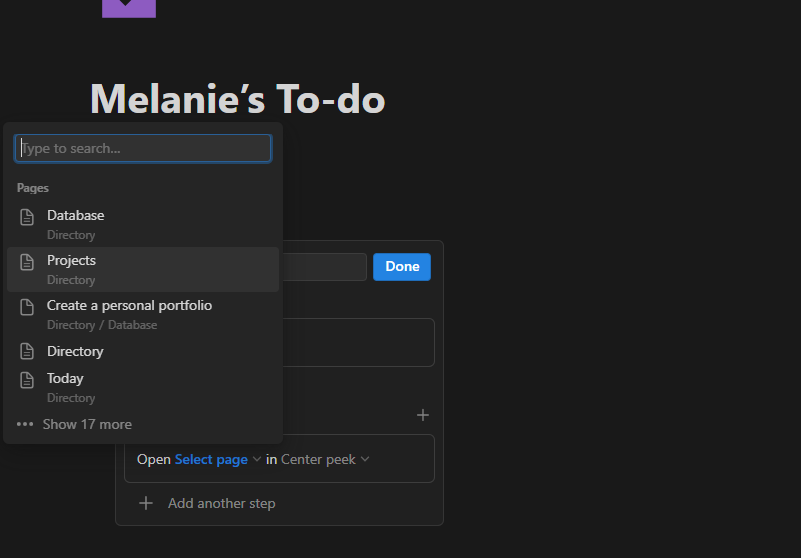
Select Add action > Open page.
Click the Select page drop-down menu, and select the corresponding page Project.
Repeat the process for the Completed pages.
You’ll have two buttons on your main page to access these two views easily.
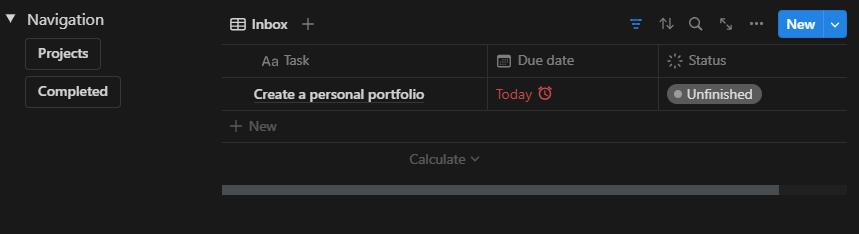
Moving to the second column on the main page,
Use the /Linked command and select Linked view of database.
Select Database > Inbox.
Next, hover on Inbox and click on the filter icon (the three horizontal lines).
Select Status > Unfinished.
Now you can add your ideas as they come and also include a due date.
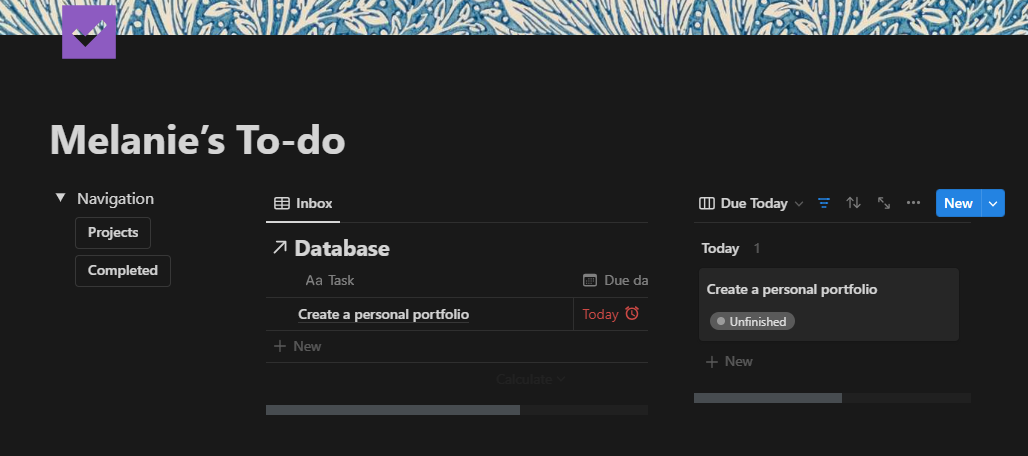
In the third column, you’ll use the calendar view from the database to create a Due today view. This will give you an overview of deadlines daily at a glance.
Use the /Linked command and select Linked view of database.
Select Database > Calendar.
Change the layout from Calendar to Board.
Rename the view to Duetoday.
Select Group by > Group by > Due date.
Select filter > Due date.
On the blue highlighted Due date dropdown menu, select week > day.
Lastly, you’ll create the Calendar below the 3 columns.
Use the /Linked command and select Linked view of database.
Select Database > Calendar.
Change the filter to year.
Congratulations, you’ve successfully created your first Notion page complete with a database and multiple pages using majority of its core features. You can use the template to make the comparison. You can take up personalizing your new planner by changing some icons and adding a pop of color.
Start Creating Tasks on Your To-Do List
Now, with your new Notion page, you have a powerful tool to simplify your workflow and structure your ideas and projects. Keep exploring Notion's features to unlock even more possibilities for productivity and creativity.
Picture credits: All screenshots by me on the Notion app. First Photo byMariia ShalabaievaonUnsplash